Polyresin pouring has quickly become a favorite technique for artists and crafters, offering a glossy, smooth finish and endless creative possibilities. Whether you're making detailed jewelry, home décor, or large-scale artworks, polyresin is incredibly versatile. However, achieving a flawless finish requires more than just basic steps—it demands a deep understanding of the material and techniques that elevate your craft. Below, we've condensed key tips for mastering polyresin pouring, inspired by how brands like Designcrafts4u create stunning, professional-quality pieces.
1. Choosing the Right Polyresin for Your Project
To achieve the desired outcome, start by selecting the appropriate polyresin. Different projects, whether small or large, require different types of resin for optimal results. For example, Designcrafts4u specializes in fine polyresin sculptures, ensuring durability and aesthetic appeal. When choosing resin, consider curing time, clarity, and the final finish, as each project may require different properties from the resin.
2. Prepare Your Work Area
A clean and well-ventilated workspace is essential for successful polyresin pouring. Like many top brands, it's important to ensure your surface is flat and free of dust or debris. Temperature fluctuations and air disturbances can cause unwanted bubbles, so it’s best to work in a temperature-controlled environment. Also, use protective sheets to cover surfaces and ensure adequate ventilation to handle fumes released during curing.


3. Mix Polyresin and Hardener Properly
Accurate mixing of polyresin and hardener is critical to achieving the perfect pour. Most polyresin products require a 1:1 ratio of resin to hardener. Stir slowly and thoroughly to avoid air bubbles, then let the mixture sit briefly before pouring to allow any trapped air to rise to the surface. A precise blend ensures that your polyresin cures properly, preventing imperfections.
4. Pouring Techniques and Bubble Removal
The technique you use for pouring polyresin greatly impacts the final result. Pouring too quickly can lead to uneven finishes or spills. For smaller projects, direct pouring works best, giving you more control over the flow. For larger pieces, a flood pour is typically employed. After pouring, bubbles can appear—use a heat gun or torch to carefully remove them, ensuring a smooth and glossy finish. Patience is key here, as bubbles can detract from the beauty of your work.
5. Curing, Sanding, and Finishing Touches
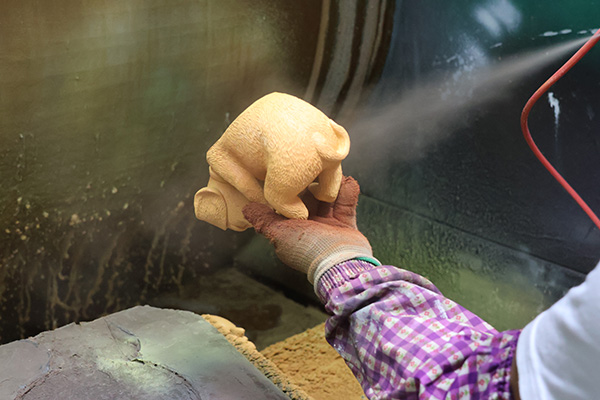
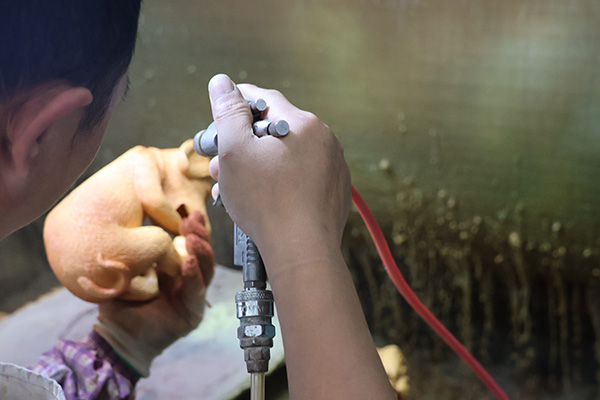
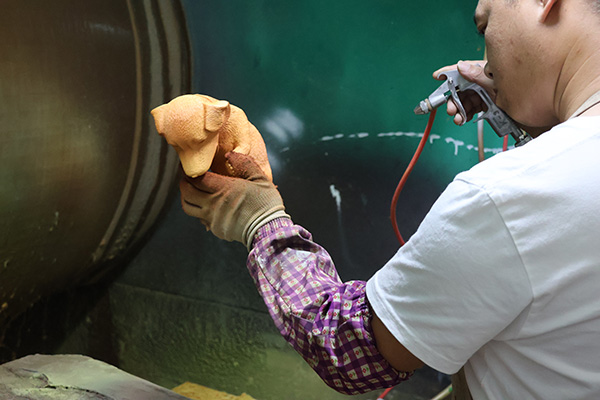
Once poured, allow your polyresin to fully cure for 24 to 72 hours, depending on the thickness of the resin. During this time, avoid disturbing the piece to prevent marks or fingerprints. Once cured, sanding is essential for smoothing out any imperfections. Start with coarse-grit paper and gradually use finer grits to achieve a flawless surface. For a high-gloss finish, apply a polishing compound or an additional layer of polyresin to ensure a professional-quality result.
Conclusion
Mastering polyresin pouring involves patience, precision, and a keen attention to detail. By following these key steps and learning from the techniques used by Designcrafts4u, you’ll be well on your way to creating stunning, flawless polyresin pieces. Whether you're crafting small, intricate items or large, artistic works, polyresin offers endless opportunities for creativity. Take your time, experiment, and enjoy the process as you perfect your skills—happy pouring!
Post time: Apr-17-2025


