For thousands of years, ceramics have been cherished not only for their practicality but also for their artistic value. Behind every exquisite vase, cup, or decorative piece lies a masterful craftsmanship that blends exquisite skills, scientific wisdom, and creativity. Let's explore the incredible journey of how clay is transformed into beautiful ceramics!
Step 1: Sculpting the Design
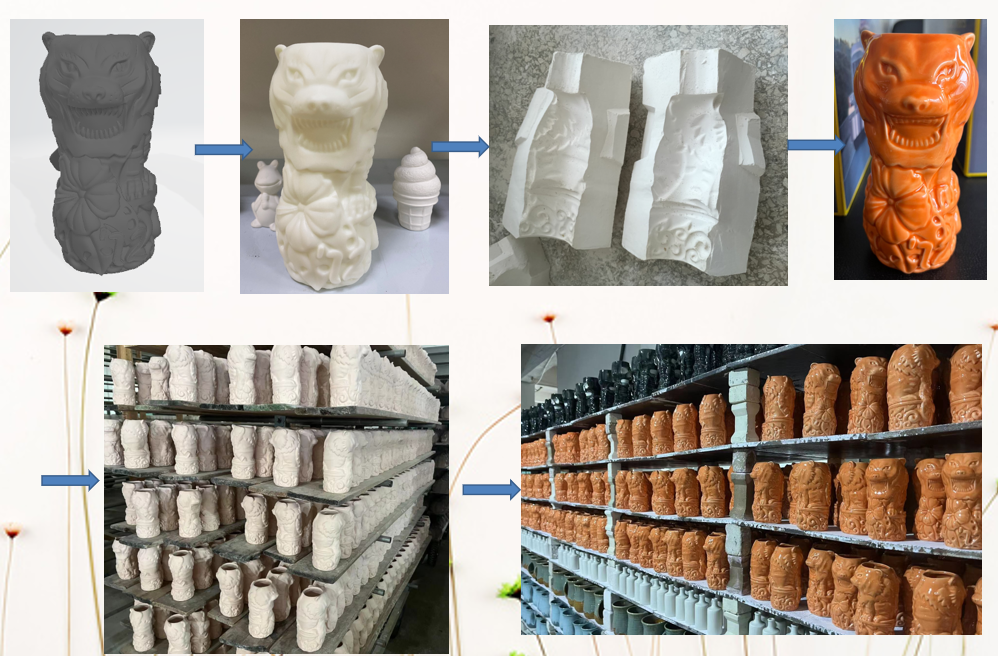
The process begins with sculpting. Based on a sketch or design, artisans carefully shape the clay into the desired form. This first step is crucial, as it sets the foundation for the final piece.
Step 2: Creating the Plaster Mold
Once the sculpture is complete, a plaster mold is created. Plaster is chosen because of its ability to absorb water, which makes it easier to form and release clay shapes later. The mold is then thoroughly dried to ensure stability for the next steps.
Step 3: Molding and Demolding
Prepared clay is pressed, rolled, or poured into the plaster mold. One common method is slip casting, where liquid clay—known as slip—is poured into the mold. As the plaster absorbs water, a solid clay layer forms along the mold walls. After reaching the desired thickness, the excess slip is removed, and the clay piece is carefully released—a process called demolding.
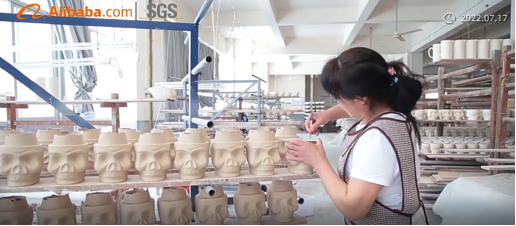
Step 4: Trimming and Drying
The raw form then goes through trimming and cleaning to smooth edges and sharpen details. Afterward, the piece is left to dry completely, an important step to prevent cracks during firing.
Step 5: Bisque Firing
With drying complete, the piece undergoes the first firing, known as bisque firing. Usually done at around 1000°C, this process hardens the clay and removes any remaining moisture, making it easier to handle in later stages.
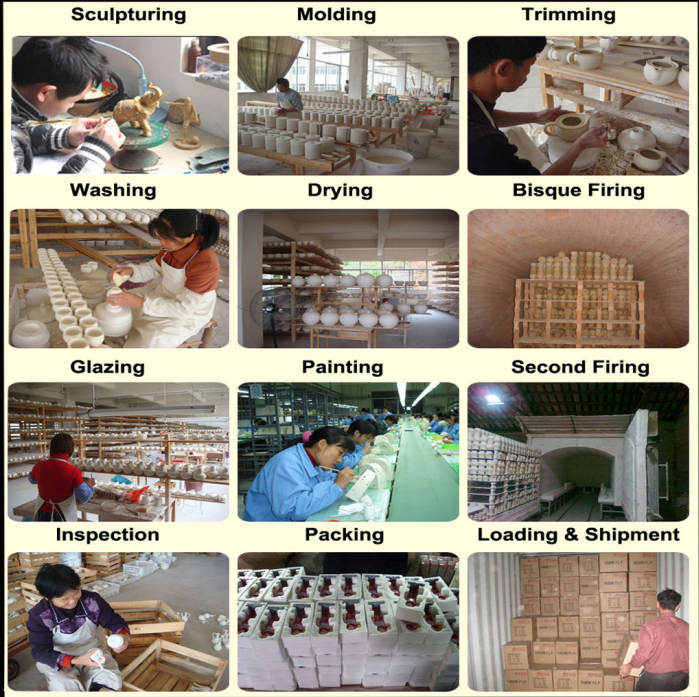
Step 6: Painting and Glazing
Artisans may add decoration through painting, or move directly to glazing. Glaze is a thin, glassy coating made from minerals. It not only enhances beauty with shine, color, or patterns but also improves durability and heat resistance.
Step 7: Glaze Firing
Once the glaze is applied, the piece undergoes a second firing at high temperatures, often around 1270°C. During this stage, the glaze melts and fuses with the surface, creating a smooth, durable finish.
Step 8: Decoration and Final Firing
For more intricate designs, techniques like decal application or hand painting are used. These decorations are fixed through a third firing, ensuring that the design remains permanent.
Step 9: Inspection and Perfection
In the final stage, each ceramic piece is carefully inspected. Minor imperfections are corrected, ensuring the final product meets high standards of quality and beauty.
Conclusion
From raw clay to shimmering glaze, the process of creating ceramics is filled with patience, precision, and creativity. Every step is crucial to ensure the final product is not only functional but also a timeless work of art. The next time you pick up a ceramic mug or admire a vase, you'll understand the painstaking effort that went into bringing it to life.
Post time: Sep-25-2025


