Resin crafts are increasingly popular due to their versatility and exquisite craftsmanship. Whether creating decorative items, custom gifts, or functional objects, understanding the production process is crucial! Here's a step-by-step guide to making resin crafts.
Step 1: Sculpting the Original Piece
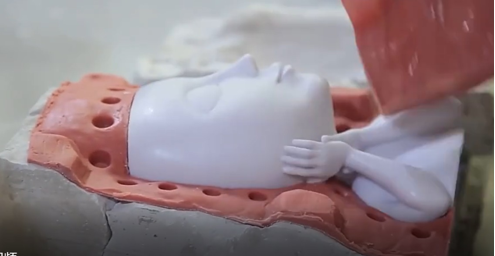
Every resin creation starts with a carefully crafted clay sculpture. This original design serves as the blueprint for all future copies. Artists pay special attention to detail at this stage, as even minor imperfections can be magnified during the molding process. A well-crafted sculpture ensures that the final resin product is smooth, balanced, and visually appealing.
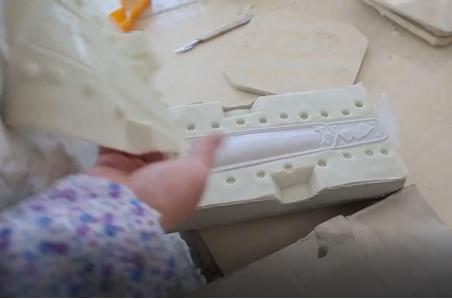
Step 2: Making the Silicone Mold
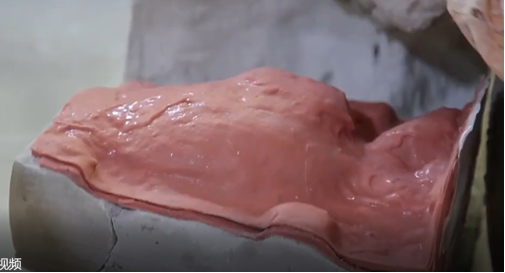
Once the sculpture is complete, a silicone mold is prepared. Silicone is flexible and durable, making it ideal for capturing intricate details from the original piece. The clay sculpture is carefully encased in silicone, ensuring all features are accurately reproduced. This mold will be used repeatedly to cast resin copies, but each mold typically produces only 20–30 pieces, so multiple molds are often necessary for large-scale production.
Step 3: Pouring the Resin
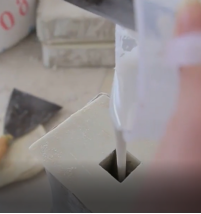
After the silicone mold is ready, the resin mixture is carefully poured inside. It is crucial to pour slowly to avoid air bubbles, and any excess around the edges is immediately cleaned to maintain a clean finish. Small items generally take 3–6 hours to cure, while larger pieces may need up to a full day. Patience during this stage ensures that the final product is solid and free from defects.
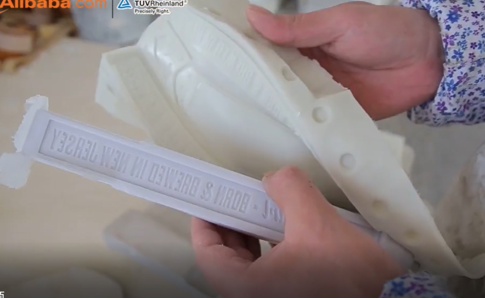
Step 4: Demolding
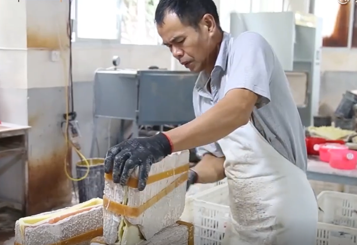
Once the resin has fully cured, it is gently removed from the silicone mold. This step requires care to avoid breaking delicate parts or leaving unwanted marks. The flexibility of silicone molds usually makes this process straightforward, but precision is key, especially with intricate designs.
Step 5: Trimming and Polishing
After demolding, some minor adjustments are necessary. Excess resin, rough edges, or seams from the mold are trimmed away, and the piece is polished to achieve a smooth, professional look. This finishing touch ensures that each item looks high-quality and ready for decoration or sale.
Step 6: Drying
Even after curing and polishing, resin items may require additional drying time to stabilize fully. Proper drying ensures longevity and prevents warping or surface defects.
Step 7: Painting and Decoration
With a polished resin base, artists can bring their creations to life through painting. Acrylic paints are commonly used to add color, shading, and fine details. For branding or personalized touches, decal printing or logo stickers can be applied. If desired, a light spray of essential oil or clear coat can enhance the finish and add a pleasant aroma.
Conclusion
Resin crafting is a meticulous, multi-step process that seamlessly blends artistry and technical skill. From clay sculpting to the final painted piece, each stage requires precision, patience, and care. Following these steps, artisans can create beautiful, durable, high-quality, and intricately designed ceramic and resin pieces. For large-scale production, careful planning and the use of multiple molds ensure efficient production without sacrificing detail.
Post time: Oct-19-2025


